San JoseHardscapes
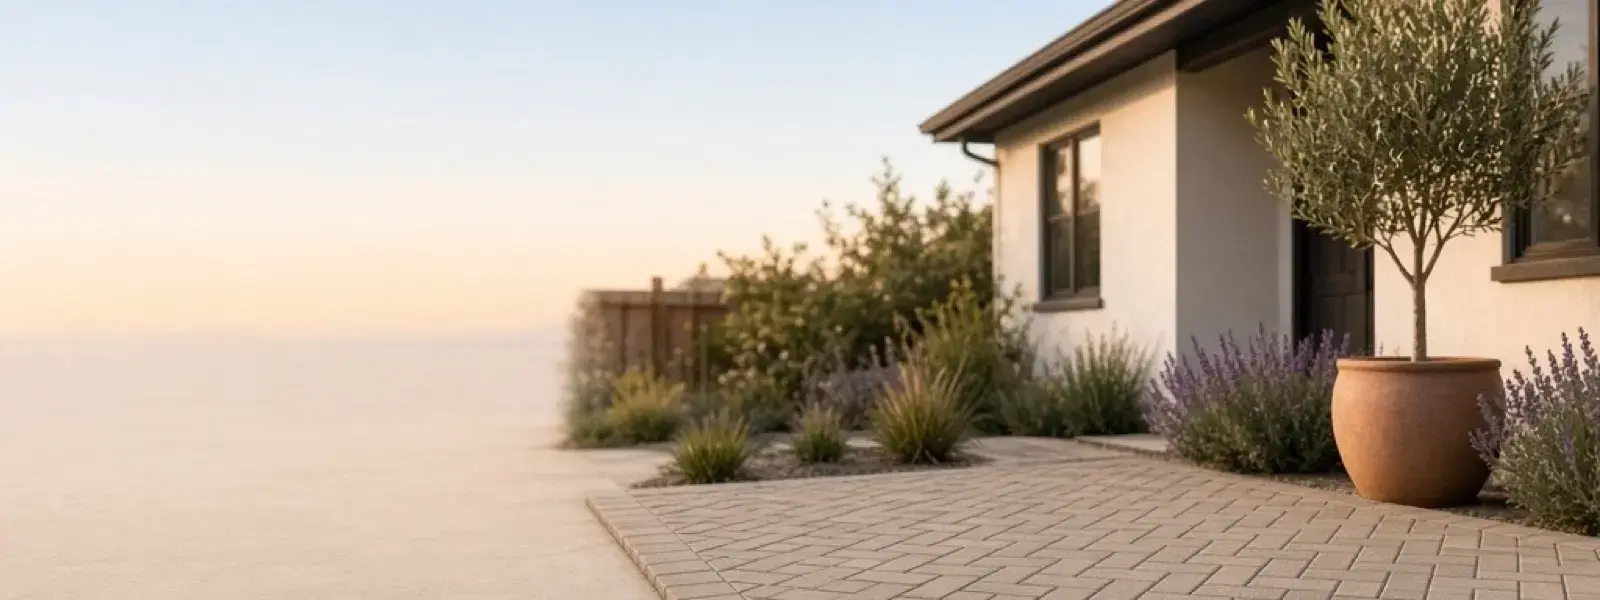
Finished herringbone paver patio beside a San Jose ranch home with a potted olive tree and lavender

Hardscaping Services

Paver Patio Installation in San Jose, CA

Compacted base, tight joints, a patio that stays flat through every winter.

The short answer

A paver patio in San Jose is a compacted aggregate base, a one-inch screeded bedding layer, interlocking concrete pavers and locked-in edges. On our clay soils the base depth, the slope away from the house and the edge restraint decide whether it stays flat. Cost depends on size, access, soil and the paver you pick.

If you've been searching for paver patio installation in San Jose, you've probably already noticed that every patio looks great on installation day. The difference shows up three winters later. At San Jose Hardscapes, we build the part you can't see first, because the base is what keeps a patio flat in Santa Clara Valley clay.

A paver patio is a flexible pavement. That's the whole idea. Individual concrete units sit on a bed of sand, locked together by friction in the joints and held in by a rigid edge. When the ground moves a little, the system flexes instead of cracking the way a slab does. That only works if the layers under it are built right and the water has somewhere to go.

On this page we walk through what's in a typical job, what we look at on a San Jose lot, how we build it step by step, and the mistakes we get called to fix. It's the same conversation we'd have standing in your backyard with a tape measure and a shovel.

Why people call

Reasons to call about paver patio installation

01

A cracked or sunken concrete slab

Plenty of 1960s ranch homes in the valley have a slab patio that's heaved or dropped a few inches. Because clay swells and shrinks, slabs rarely stay level. Pavers handle that movement better, and a section can be lifted and reset later if something shifts.

02

Bare dirt, gravel or worn-out turf out back

Drought-era lawn removal left a lot of yards with a patch of rock mulch and no real place to sit. A paver patio gives you a level, usable surface that doesn't need mowing or much water.

03

A new door, slider or ADU opening onto the yard

When a new sliding door goes in, you suddenly need a landing and a surface that connects to it. That's the best time to get the elevation and slope right, before everything is boxed in.

04

Muddy winter backyards

If the kids and the dog track mud inside from November to April, a hard, well-drained surface by the back door makes a real difference. We often pair the patio with drainage so the water is dealt with, not just covered.

05

Getting ready to entertain or sell

A clean patio with a defined seating area and room for a fire feature is one of the things buyers notice. If that's your plan, tell us early so we can lay the patio out around furniture and any future add-ons.

What's in the job

What the job actually includes

01

Site layout and grade survey

We string the patio footprint, set a finished elevation that sits below the door threshold, and shoot the slope with a level or laser. Most of the design decisions happen here, including where the water will leave the patio and whether the layout needs a drain.

02

Excavation and spoils haul-off

We dig out the sod, topsoil and soft material to the depth the base needs, usually 8 to 10 inches below finished grade once you add pavers, bedding and base. The spoils go off site. On tight side-yard access we move material by hand or with a narrow tracked machine.

03

Subgrade prep and fabric where needed

The exposed soil gets proof-rolled and compacted. Where the clay is wet or pumping under the plate compactor, we add non-woven geotextile so the base stone can't squeeze down into the soil and disappear over the years.

04

Compacted aggregate base

Crushed aggregate goes in and gets compacted in thin lifts. We check the surface with a straightedge and a string line before any sand goes down, because the sand layer can't hide a wavy base.

05

Pavers, cuts and pattern layout

We lay the pattern from a square starting line, cut the perimeter pavers with a wet saw, and keep joints tight and consistent. You pick the paver, color blend and pattern. We'll tell you honestly which ones suit your lot and which are a headache to keep clean.

06

Edge restraint, joint sand and cleanup

Spiked edge restraint or a concrete edge goes along every open side. Joints get filled with polymeric sand, the surface is compacted again, and the excess is blown off before any water touches it. We leave the yard clean.

The build

How we build it, step by step.

  1. 01

    Walk the site and set the elevation

    We measure, mark utilities with 811 before anyone digs, and set the finished height. The patio needs to finish at least a couple of inches below the door threshold or weep screed, and it needs to fall away from the house at 1/4 inch per foot, which is 2 percent.

  2. 02

    Excavate to the base depth

    We dig down far enough for 4 to 6 inches of compacted base, 1 inch of bedding sand and the paver thickness, typically 60 mm (about 2 3/8 inches) for a patio. We cut a little past the planned edge so the base and restraint have room to sit on solid ground.

  3. 03

    Compact the subgrade

    A plate compactor makes several passes over the native soil. We watch for soft spots. If an area is pumping, we dig it out and replace it with aggregate, or lay geotextile and build up the base in that spot.

  4. 04

    Build and compact the base in lifts

    Base material goes in no deeper than about 4 inches at a time, and each lift gets wetted and compacted until the plate stops leaving marks. We're aiming for around 95 percent of Standard Proctor (ASTM D698). Then we re-check slope with a string line.

  5. 05

    Screed the bedding sand

    Concrete sand (ASTM C33) is screeded to about 1 inch over guide pipes, then the pipes are pulled and the voids filled by hand. After that, nobody walks on the sand. Everything gets laid from the pavers already placed.

  6. 06

    Lay, cut and compact the pavers

    Pavers go down tight, pattern lines get checked as we go, and the perimeter pieces are cut with a wet saw. A plate compactor with a rubber pad then seats the field into the sand and starts to lock the joints.

  7. 07

    Install edges, sweep joint sand and finish

    Edge restraint is spiked into the base about every 12 inches, then polymeric sand is swept into dry joints, the surface is compacted again, the excess is blown off and the patio is lightly misted according to the product directions. Sealing is a separate choice and we'll talk through it.

Technical detail

The details that decide how it holds up

Why the base matters more than the paver on San Jose clay

Much of the valley floor sits on expansive clay, the dark, sticky adobe that cracks in August and turns to grease in February. It swells when it's wet and shrinks when it dries. A patio built straight on top of it, or on a thin skim of rock, will rise and fall with the seasons. The pavers themselves are fine. The ground under them is what moves.

A good base does two jobs. It spreads the load so the clay doesn't see point pressure, and it gives water a fast path down and out instead of letting it sit against the soil. We typically use 3/4-inch minus crushed aggregate, which packs tight because the fines fill the voids between the angular stones. Clean, rounded pea gravel doesn't compact and shouldn't be used as a base.

On wetter or softer ground we step the base up in depth, and sometimes put non-woven geotextile between the clay and the rock. The fabric acts as a separator. Without it, the clay slowly pumps up into the stone every wet season and the stone sinks down into the clay, which is how you end up with a dish in the middle of the patio after a few years.

Slope, water and where it goes

The minimum slope for a paver patio is 1/4 inch per foot, away from the house. That's 2 percent. Less than that and water sits in the joints and stains the surface. More than about 1/2 inch per foot starts to feel tilted when you set a table down. We set the slope in the base, not in the sand, because a sand layer of uneven thickness will settle unevenly.

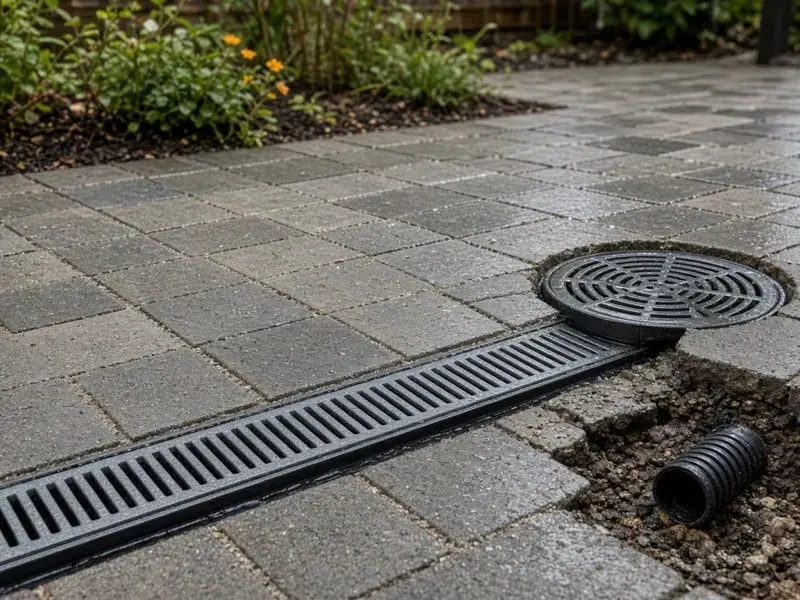
Where the water goes after it leaves the patio matters just as much. If it runs into a flower bed, it needs to keep going. If the yard is flat, it may need a catch basin or a small channel drain. And if it's pooling at the back fence, a French drain tied into the patio edge can handle the overflow during atmospheric river storms that can drop a lot of rain in a short time.

We never aim patio runoff at the foundation or toward the neighbor. Every site is different, and sometimes the right call is to raise the patio slightly, pitch part of it toward a drain, or build a swale beside it. We'll show you the plan before we dig.

Bedding sand, screeding and why you can't cheat it

The bedding layer is the thinnest and the most misunderstood part of the patio. It's about 1 inch of washed concrete sand, ASTM C33, screeded flat over the compacted base. Its only job is to absorb small differences in paver thickness and let the units seat evenly. It isn't a structural layer.

That's why a deep bed of sand is a red flag. If someone fills a low spot in the base with 2 or 3 inches of sand, the plate compactor will push the pavers into it unevenly and the surface will ripple. Low spots in the base get fixed with more base. Stone dust and mason sand don't drain properly and hold water, so we don't use them for bedding.

Once the sand is screeded, we keep foot traffic off it. We lay the pavers from the existing laid surface, working forward on kneepads, and we pull our guide pipes before the screed is finished so no ridges are left in the sand.

Edge restraint and joints: the parts that lock it all together

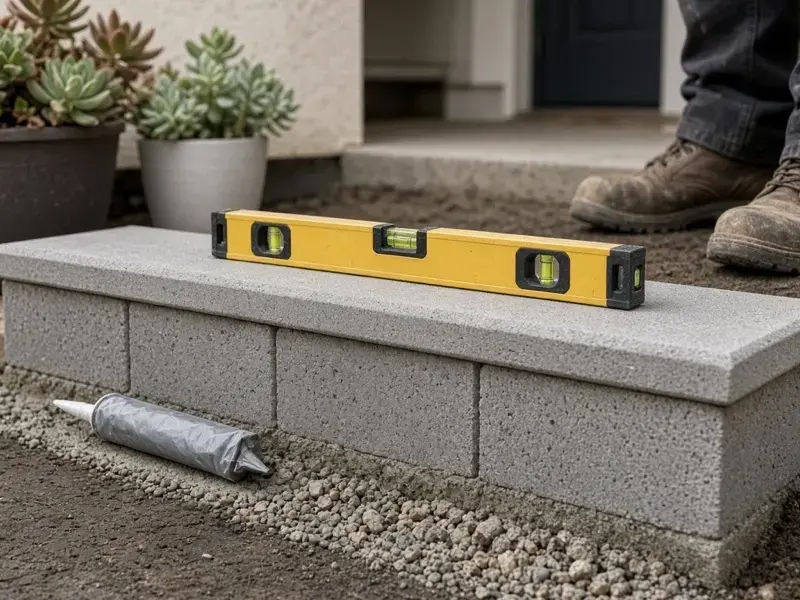
A paver patio is held together by its edges. Without restraint, the pavers spread outward under load and the joints open up. We use heavy-duty plastic or aluminum edge restraint, spiked into the compacted base roughly every 12 inches, on every open side. Where the patio meets a lawn or planting bed we sometimes pour a concrete edge instead, which gives a stiffer, longer-lasting hold.

Joints are usually between 1/16 and 1/8 inch. We fill them with polymeric sand, a fine sand with a binder that sets when it's moistened. It resists washout and discourages weeds, and it helps the pavers act as one surface. But it has to go in dry, be compacted down into the joint, and be cleaned off the surface before it's wet, or it leaves a haze on the pavers that's hard to remove.

No joint sand stops ants or weeds completely, and no product is maintenance free. Plan on occasional re-sanding in high-traffic or high-wash areas, especially under downspouts and near sprinkler spray.

Picking pavers for a hot, dry valley

Concrete pavers sold for patios in the valley should meet ASTM C936, which sets a minimum average compressive strength of 8,000 psi tested to ASTM C140 and a limit on water absorption. Ask your supplier for the spec sheet. Most name-brand products clear it easily, but low-priced pavers from big box stores can vary.

Color matters here. Dark charcoal pavers look sharp but run hot on south-facing patios in July and August. Lighter and blended tones are easier on bare feet and show less dust. Natural stone pavers, like travertine or limestone, can be cooler underfoot, but they need different handling and sealing. Smooth, honed finishes can get slick when wet, so we steer people toward textured surfaces near steps and pools.

As for pattern, running bond and herringbone are the strongest because the joints don't line up. A basket weave or stack bond looks clean and modern but relies more on the edge restraint to hold its shape.

Spec sheet

Paver Patio Installation: the numbers

Paver thickness (patio)
60 mm (about 2 3/8 in) typical for pedestrian use
Paver standard
ASTM C936, 8,000 psi minimum average compressive strength (ASTM C140)
Base material
3/4-inch minus crushed aggregate, angular, with fines
Base depth
4 to 6 in compacted, deeper over soft or wet clay
Compaction
In lifts of about 4 in, to roughly 95 percent of Standard Proctor (ASTM D698)
Bedding layer
About 1 in of washed concrete sand, ASTM C33, screeded
Minimum slope
1/4 in per foot (2 percent) away from structures
Edge restraint
Spiked about every 12 in, on every open edge
Joint width
About 1/16 to 1/8 in, filled with polymeric sand

Failure modes

How these jobs go wrong

Most failures trace back to a handful of shortcuts. These are the ones we see most.

  • Skipping base depth to save a day

    A 2-inch base on clay is the most common failure we see. The patio looks fine for a season, then it starts to dip where furniture sits or where a downspout lands. The fix is to tear it up and start over, which costs more than building it deep the first time.

  • Using stone dust or sand as the base

    Some crews fill the whole excavation with decomposed granite or sand because it's easy to screed. It doesn't drain like crushed aggregate and it washes out at the edges. It's fine as a thin bedding layer, but not as a base.

  • No edge restraint, or restraint left unspiked

    Pavers laid on a nice base with a flimsy edge will still creep outward. Joints open up, the border pavers tilt and weeds move in. Restraint needs to be spiked into the base every 12 inches or so, not just set on top of the lawn.

  • Flat or backward slope

    A patio that drains toward the house, or doesn't drain at all, will stain, grow algae and push water toward the foundation. Sloping is part of the design, and it's much easier to build in than to fix after the fact.

  • Joint sand installed damp or left on the surface

    If polymeric sand gets wet before it's compacted and blown clean, it leaves a dull film on the pavers and the joints don't set properly. It's one of the easiest mistakes to make and one of the hardest to reverse.

Santa Clara Valley ground

Building paver patios in San Jose and the Santa Clara Valley

A lot of San Jose is 1950s to 1970s ranch homes on lots around 5,000 to 8,000 square feet, with a concrete patio out back that's seen better days. The flatland soil in many neighborhoods is expansive clay. In the foothills, around Almaden and the Evergreen hills, you'll hit shallow rock, slopes and tighter access instead. We plan the base depth and the drainage around each lot, not around a standard drawing.

Our dry summers help us, since we can compact and set sand without wet weather problems from roughly May through October. Winters don't stop the work, but they do shape it. Wet clay can't be compacted well, so we pause excavation after heavy rain. For those who want the project done before the rainy season, early planning matters. The same methods carry over to paver patios in Sunnyvale, where many of the older tract homes have similar clay and compact backyards.

If you're closer to the north end of the county, you may be looking at paver patios in Santa Clara, where lots are often modest and a patio has to fit tight between the house and the fence. Over on the Peninsula side, paver patios in Mountain View often need extra attention to drainage because the lots are flat and water has little place to go. A patio near a creek or in a hillside fire-hazard zone can come with extra rules, and HOAs often want to approve materials. Check with the city and your HOA early. A patio on grade often doesn't need a permit, but that depends on the jurisdiction and what's attached.
Questions

Paver Patio Installation questions, answered

How thick should the pavers be for a patio?

For a pedestrian patio, 60 mm (about 2 3/8 inches) is standard. If you plan to park a car or run a heavy grill cart or hot tub on it, we step up to 80 mm and build the base deeper. Thickness and base work together, so a thicker paver on a thin base doesn't help much.

Can you install a paver patio over my existing concrete slab?

Sometimes. If the slab is solid, flat enough and has no major cracking, pavers can go over it with a thin layer of bedding. But the slab needs to drain, and the added height might create a step at the door. If it's heaved or broken, it's usually better to remove it and build a proper base.

Do I need a permit for a paver patio in San Jose?

A flat patio at grade often doesn't need a permit, but it depends on the city, the size and whether it's attached to the house or sits near a creek or property line. Check with your city's building department. We can tell you what we've seen and help you ask the right questions.

What's polymeric sand, and does it need to be redone?

It's a fine sand with a binder that hardens when it's moistened, which keeps joints locked and discourages weeds. It does wear down over time, especially where water runs. Many homeowners re-sand the joints every few years in high-traffic spots.

Should I seal my pavers?

It depends on what you want. Sealing deepens the color, helps with oil and spill stains and can stabilize the joint sand. It also needs reapplying periodically and can make some surfaces slick when wet. Look for a breathable sealer meeting ASTM C309 or C1315, and ask us if your paver is a good candidate.

Can I put a fire pit or outdoor kitchen on a paver patio?

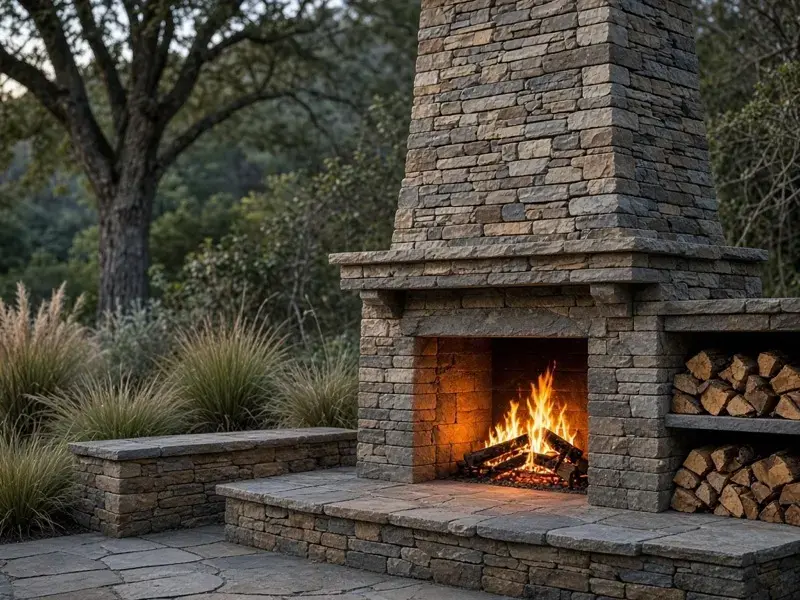
Yes, and it's best to plan for it up front. Heavy items like a built-in grill island or a masonry fire pit need a reinforced footing or a thicker base under them. A gas fire pit is common here because of Spare the Air restrictions on wood burning.

Why do some pavers get a white haze on them?

That's efflorescence, a mineral deposit that comes out of the concrete as moisture moves through it. It's most common in the first year or so and usually fades on its own, or can be cleaned with a product made for it. It's a cosmetic issue, not a sign of a defective paver.

Ready to talk about paver patio installation?

If you're ready to talk about a paver patio, San Jose Hardscapes can come out, look at your grade and soil, and give you a straight answer on the base, the drainage and the layout before any digging starts. Give us a call or send a note through the contact page and tell us what you've got in mind.