San JoseHardscapes
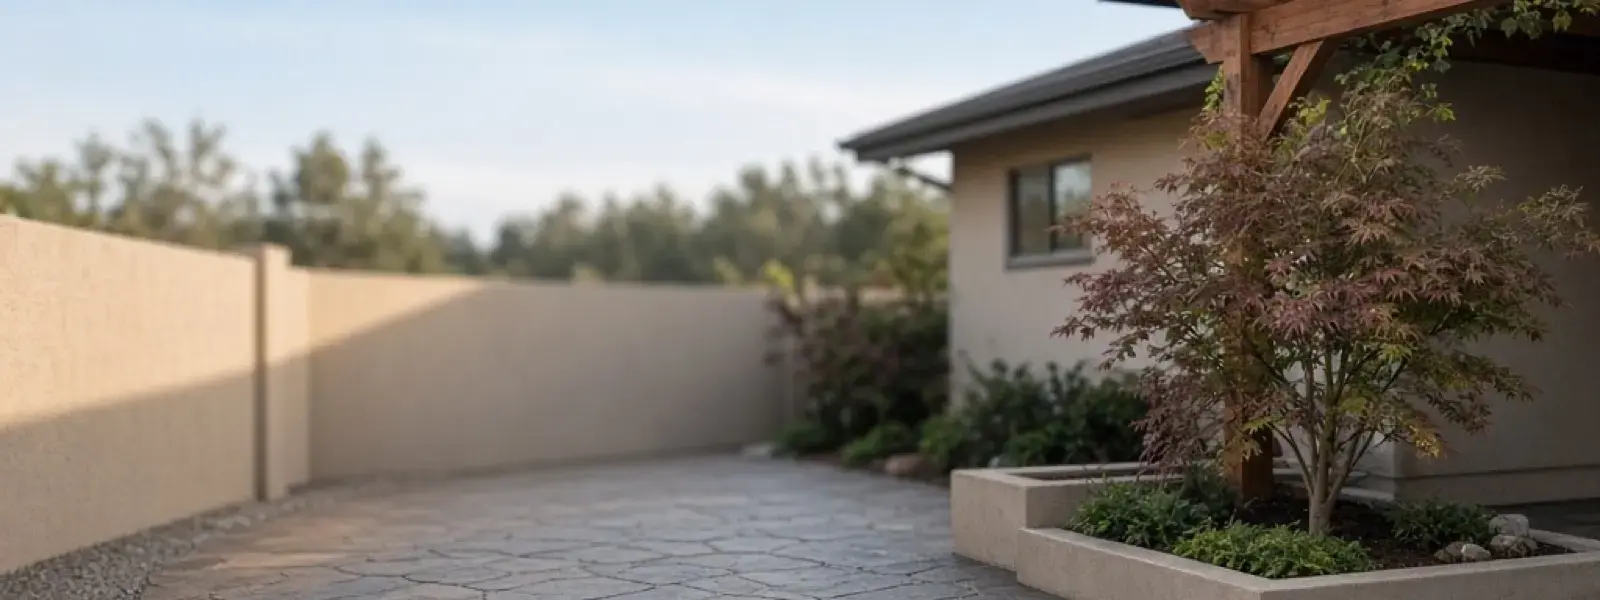
Finished stamped concrete patio in an ashlar slate pattern with a planter and pergola in San Jose

Hardscaping Services

Stamped Concrete Patio in San Jose, CA

Slate, ashlar, and wood-plank textures in integral color, sealed for sun and spilled wine.

The short answer

A stamped concrete patio is a 4 inch reinforced slab on compacted base, colored with integral pigment or a hardener, then imprinted with texture mats while still plastic. Success depends on timing, joints hidden in the pattern and a sealer chosen for the sun and traffic. On Santa Clara Valley clay, the base and drainage matter most.

Stamped concrete gets you the look of slate, flagstone, brick or wood plank from a single pour. San Jose Hardscapes builds stamped patios for homeowners who like one continuous surface, want lots of pattern options and don't want to deal with joints that grow weeds. It's a craft job, though. The difference between a patio that looks like stone and one that looks like a rubber-stamped sidewalk comes down to timing, color work and a crew that's done it many times.

There's a lot happening at once on a stamping day. The truck arrives, the slab has to be placed, floated and edged, color has to be broadcast or worked in, release agent goes on, and the mats go down in sequence before the surface sets. Heat speeds it all up. Cool, overcast weather gives you more time. Either way you only get one shot at the stamping window, and the crew has to be ready before the concrete arrives.

Below we cover what goes into a stamped patio from ground to sealer: slab design on clay, color systems, release agents, tools, timing, joint layout, sealers, slip resistance and maintenance. We'll also compare stamped concrete with paver patios and flagstone so you can pick the right material for your yard and not just the one that photographs well.

Why people call

Reasons to call about stamped concrete patio

01

An old plain slab you want to improve

A bare broom-finish patio looks tired after years of sun and stains. Stamped concrete is a way to rebuild it with pattern and color. We'll check whether the old slab can be overlaid or needs to be demolished and re-poured.

02

A new ADU, pool or yard remodel

When a remodel changes the layout of the yard, a stamped slab can tie house, pool deck and walkways together with a common texture and color. It's also a flexible choice for curved shapes, which are hard to do with cut pavers.

03

Wanting a stone look without grass in the joints

Some homeowners love the look of flagstone or slate but don't want weeds or ants in the joints. Stamped concrete gives the pattern without the open joints. The tradeoff is that it's a single monolithic slab, so cracks are always possible.

04

A cracked, stained or faded stamped patio

An older stamped patio with failed sealer, worn color and open cracks can sometimes be cleaned, repaired and resealed. If the base has moved, we'd talk through whether to remove it and start fresh with better preparation underneath.

05

Preparing for an outdoor living space

A patio that will carry a barbecue island, fire feature, pergola posts or a hot tub needs a slab designed for the load. Stamped concrete can be poured with thickened edges, footings and conduit sleeves built in from the start.

What's in the job

What the job actually includes

01

Design, layout and pattern selection

We help you pick a pattern, texture and color family that fits the house and the lot, then lay out the slab shape, borders and joint lines on the ground. Patterns like ashlar slate, random stone and wood plank each carry joint layouts that can hide control joints.

02

Excavation, base and forming

We excavate to depth, strip organic soil, compact the subgrade and install about 4 inches of compacted aggregate base. Forms are set with a slight slope, typically 1/4 inch per foot, away from the house. Isolation material goes against the house, walls and any adjoining concrete.

03

Reinforcement

Rebar on chairs, typically #3 on an 18 inch grid or a design-specific layout, goes in before the pour. Fibers can be added to the mix to reduce early shrinkage cracking. We choose the system based on slab size, soil and any heavy loads, such as a hot tub or outdoor kitchen island.

04

Colored concrete placement

We order a ready-mix to ASTM C94 with a suitable strength, slump and, if you want integral color, a pigment dosed at the batch plant. We place, screed, bull float and edge the slab, then bring up the surface for color hardener if that's the plan.

05

Release agents, stamping and texturing

Release agent goes on so the mats don't stick to the surface, either as a colored powder or as a sprayed liquid. We lay textured mats in sequence, tamp them to transfer the pattern, and use flexible skins and hand tools to texture edges, corners and tight areas that mats can't reach.

06

Joints, washing, curing and sealing

Control joints are cut in the pattern grout lines so they disappear into the design. After the slab has hardened, we wash off the excess release powder, let the surface dry and apply a sealer. Foot traffic comes first, furniture and heavier loads wait until the slab has cured.

The build

How we build it, step by step.

  1. 01

    Layout, pattern and color decisions

    We walk the yard, mark the slab outline, and look at drainage, nearby roots, utilities and the way the patio connects to the house. Then we settle pattern, border, base color and accent color using real samples, because screen colors never match what dries in the sun.

  2. 02

    Excavation and subgrade preparation

    We excavate to depth, remove organics and any soft soil, and condition the clay subgrade to a uniform moisture before compacting. Expansive soil that's dry and cracked at pour time absorbs water from the slab and moves later, so the subgrade gets care before the base rock goes in.

  3. 03

    Base rock, forms and reinforcement

    A 4 inch layer of compacted aggregate base goes in lifts. We set forms to line and slope, install isolation joint filler and tie rebar on chairs. Plumbing, conduit and gas sleeves for future features are set now so nobody has to cut the slab later.

  4. 04

    Pour, screed, float and edge

    The crew places the concrete, screeds it to grade, bull floats and waits for bleed water to leave. The timing here sets up the rest of the day. Floating too early traps water and weakens the surface. Floating too late means the stamping window is shorter than it should be.

  5. 05

    Color, release and stamping

    If a color hardener is used, it's broadcast in two passes and floated in. Release agent goes on, and the mats follow in a planned order, tamped firmly for good depth. The crew stays ahead of the setting concrete, working across the slab and touching up edges with texture tools and skins.

  6. 06

    Joint cutting, curing and cleaning

    Once the slab can take a saw without chipping, control joints are cut along the pattern's grout lines, about a quarter of the slab depth. The surface is kept from drying too fast. After curing, we wash off the release powder, let the slab dry and move on to sealing.

  7. 07

    Sealing and handoff

    We apply sealer to a clean, dry surface, in thin coats, with a slip-resistance additive if the area is shaded, wet or near a pool. We give you care and re-sealing notes. Furniture and heavier loads go on after the slab has cured, and we say when.

Technical detail

The details that decide how it holds up

Integral color vs color hardener

There are two main ways to color a stamped slab, and they behave differently. Integral color is a pigment mixed into the concrete at the batch plant or in the truck, so the color runs all the way through. If the surface chips or wears, the color underneath is the same. It gives even, softer tones, and it's usually the base layer on stamped jobs. The limitation is that the color can look a little muted, and variations in the water ratio from load to load can show up as shading.

Color hardener is a dry powder broadcast onto the fresh slab and floated in. It makes a dense, color-saturated surface layer that's often stronger than plain concrete at the top. The colors are richer and the surface takes a deeper stamp. But it's a thin layer, so heavy wear, scraping and old sealer failure can show through over time. A lot of the best jobs use both: an integral base color in a lighter tone, then a hardener or antiquing release in a contrasting tone for depth.

Whichever system is picked, uniformity is the hard part. Pour the whole slab in one continuous placement from the same mix if you can, keep the water ratio steady and avoid calcium chloride accelerators, which cause blotchy color. We use test sample boards when a color is critical, and we tell you honestly that color will shift as the slab cures and the sealer goes on.

Release agents, mats and the stamping window

Release agent is what keeps wet concrete from sticking to the mats. Powder release is a colored dust broadcast over the surface. It does double duty: it prevents sticking and leaves a contrasting color in the texture recesses, which gives that antiqued, natural-stone look. Liquid release is sprayed on, often used on vertical work, small details or when a cleaner look is wanted without a powder residue. Too little release and the mat grabs and tears the surface. Too much, and the color gets muddy.

Texture mats are rubber or polyurethane, cast from real stone, slate, brick or wood. Flexible skins and texture tools pick up edges and fill the gaps between rigid mats. Tamps drive the pattern into the concrete, texture rollers handle the grout lines, and hand tools finish corners, borders and anywhere a mat doesn't fit. A good crew has sets of mats on hand so the pattern stays randomized and repeats don't line up.

The timing window is narrow. The concrete needs to hold a footprint without sticking to the mat, which feels something like firm putty. Hot, windy and sunny days can shorten that window to well under an hour, while cool, overcast days stretch it. Retarders and surface moisture help on hot days. This is the one phase where concrete tends to punish a hesitant crew, which is why we staff stamped pours with enough hands to work across the whole slab at once.

Slab design on clay and where the joints go

Stamped concrete is just concrete under all that texture, so it faces the same clay problem as any slab in the valley. We use about 4 inches of compacted base, a slab 4 inches thick, rebar on chairs and edges that are thickened where the patio meets planting beds. Isolation joints at the house wall and other fixed objects keep the slab from bonding where it shouldn't. A mix of around 3,500 to 4,000 psi is typical, with a water-cement ratio kept as low as the pour allows.

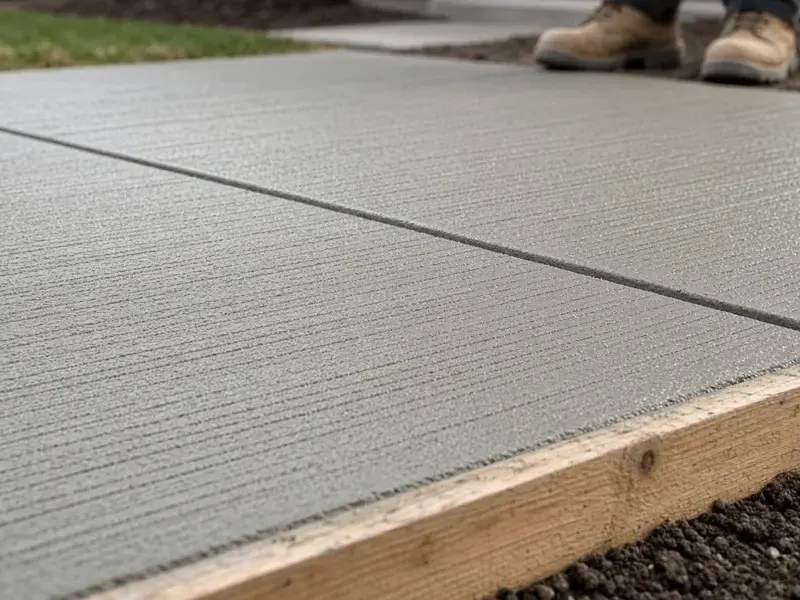
Cracks can't be fully avoided in concrete, so the goal is to control where they happen. Control joints are normally spaced 2 to 3 times the slab thickness in feet, so a 4 inch slab has joints every 8 to 12 feet, with panels close to square. On a stamped patio we put those cuts in the pattern's grout lines, where a saw cut looks like a mortar joint. A thin blade makes a narrow cut that blends in, and the pattern layout is designed so the lines land where the saw needs to go.

Good drainage design matters more than people expect. Patios are typically sloped around 1/4 inch per foot away from the house, and the water needs somewhere to go besides the foundation. If a patio is sitting in a low area or against a hill, we may add a French drain along the uphill edge. Water pooling at a slab edge feeds clay movement and speeds up cracking.

Sealers, slip resistance and upkeep

Sealer is both a protective layer and part of the color. Solvent-based acrylic sealers give a deep, wet-look color and a glossy finish, and they bond well to stamped surfaces. Water-based acrylics have lower odor and meet tighter VOC rules, which matter in California, but they can look a bit thinner and can blush white if applied too thick or too early. Penetrating sealers, like silane or siloxane, soak in and repel water without forming a film. They keep the look natural and aren't slick, but they don't add color depth or gloss.

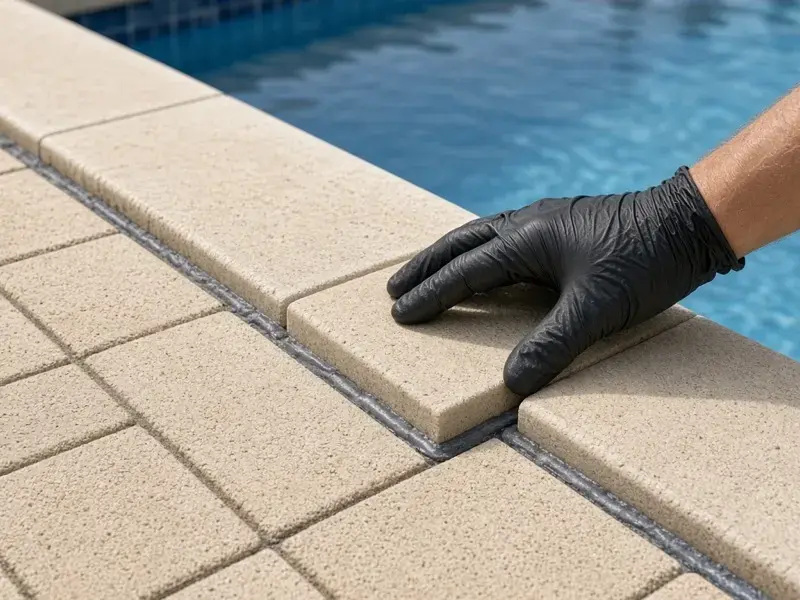
A glossy film on a damp surface is slippery, so we add a slip-resistance additive on patios that are shaded, near a pool or on a slope. These are fine grit particles, such as polymer beads or aluminum oxide, mixed into the final coat or broadcast into it. For wet areas, a DCOF around 0.42, the benchmark in ANSI A326.3 tests for tile, is often used as a reference point, though sealers on concrete usually need field testing for the specific product.

Upkeep is simple but not zero. Film-forming acrylic sealers usually need reapplication every few years, depending on sun and traffic, and it's better to reseal when the surface is dulling than after the sealer has worn off completely. Wash with a mild cleaner and a soft brush, not a pressure washer on high. If the patio develops white haze, that may be efflorescence, which is salt carried to the surface by moisture, or a blushed sealer. Neither is the same fix, so get it checked before you strip anything.
Stamped vs pavers vs flagstone

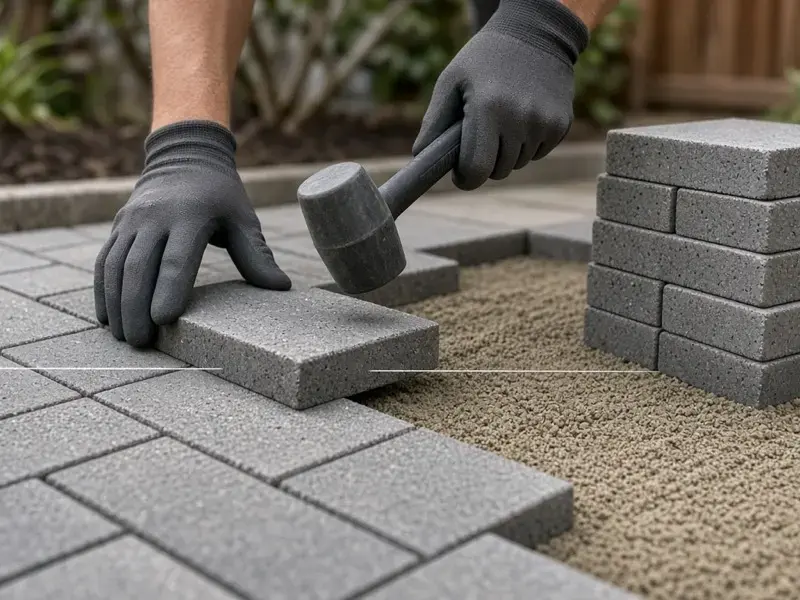
Stamped concrete gives you pattern and color in a continuous surface with no joints to weed. It tends to cost less up front than natural stone and is faster to install than a full paver job. The drawbacks are that cracks can happen and are difficult to hide, the sealer needs maintenance, and repairs are hard to color-match. It also can't be lifted and re-laid if a pipe breaks underneath.

Pavers are flexible. They tolerate small ground movement without cracking, they can be lifted for repairs and the color is baked in. They need a well-built base and edge restraint, and the joints need occasional sand or maintenance. In clay areas, that flexibility is a real advantage, and it's why we often bring pavers up when somebody's old patio cracked from soil movement.

Flagstone has the most natural look, with variety no stamp can copy, and it can be dry-laid or mortared. It costs more, takes longer and needs skilled cutting. Stamped concrete is a good choice for curved shapes, large areas and budgets that need an economical look, while pavers or stone make more sense where long-term flexibility and repair are priorities. We'll tell you which way we'd lean for your yard.

Spec sheet

Stamped Concrete Patio: the numbers

Slab thickness
4 inches typical, thicker at edges, under heavy features or where vehicles may cross
Base
4 inches of compacted aggregate base over conditioned subgrade, about 95 percent of Standard Proctor (ASTM D698)
Concrete mix
Around 3,500 to 4,000 psi, ready-mix per ASTM C94, low water-cement ratio, no calcium chloride
Reinforcement
#3 rebar on chairs in a grid designed for the slab, or fibers where appropriate
Color systems
Integral pigment through the mix, color hardener broadcast on the surface, or both
Release agents
Powder for antiquing and contrast, liquid for details and cleaner looks
Control joints
2 to 3 times slab thickness in feet, cut about 1/4 of the depth, placed in pattern grout lines
Slope
About 1/4 inch per foot (2 percent) away from the house
Sealers
Solvent acrylic, water-based acrylic or penetrating silane/siloxane, chosen for gloss, traffic and sun
Slip resistance
Grit or polymer additive in the sealer for shaded, wet or pool-adjacent patios

Failure modes

How these jobs go wrong

Most failures trace back to a handful of shortcuts. These are the ones we see most.

  • Stamping at the wrong moment

    Too wet and the mat sinks and smears. Too dry and the pattern won't take, leaving shallow, uneven impressions. A crew that watches the slab and not the clock avoids both, and keeps enough hands on site to work the entire surface.

  • Control joints that cut through the pattern

    Random saw cuts that slice across stone shapes look like scars. Planning joints along the grout lines makes them nearly invisible, and it's a layout decision, not a finishing afterthought.

  • Sealing too early or too thick

    Sealer applied over damp concrete or in heavy coats can trap moisture and turn white and cloudy. Thin coats on a clean, dry slab bond better, dry clearer and are easier to maintain.

  • Ignoring slip resistance

    A glossy acrylic over shaded or wet concrete can be treacherous. Adding grit to the sealer, or choosing a penetrating or satin sealer in wet zones, is a small change that makes a big difference underfoot.

  • Skimping on base and drainage

    A beautiful stamp can't hide a slab sitting on uncompacted clay with water pooling at its edge. Most stamped patio failures are ground problems, not concrete problems, so the base and the drainage deserve the same attention as the pattern.

Santa Clara Valley ground

Stamped patios in San Jose and the Santa Clara Valley

Climate shapes how we schedule and finish a stamped pour here. The dry season gives long stretches of good weather, but summer afternoons can hit the 90s, and that shortens the stamping window. We often start early, use retarders and shade where needed. The wet season runs roughly from November to April, and atmospheric-river storms can wash a fresh slab or flood a prepped base, so we watch forecasts closely and don't pour ahead of rain.

Clay is the other local factor. Many valley flatlands have expansive soil that moves with moisture, and stamped patios take the brunt because the pattern depends on a clean, uncracked surface. Subgrade conditioning, a proper base and good drainage away from the slab edges are the best defense. On hillside lots in places like Almaden or Los Gatos, we think about runoff paths and retaining walls before we think about patterns.

A lot of homes in the area are 1950s to 1970s ranches on modest lots, and a stamped patio can make a small yard feel finished without a lot of seams. Newer townhomes and HOA communities often have color and material rules, so ask for written approval of the pattern and color. Patios near creeks may have setback rules, and some patios need a permit depending on size and attachments, so check with the city early. Gas fire features are also common here, and we plan clearances for them when the slab is designed.

Questions

Stamped Concrete Patio questions, answered

What's the difference between integral color and color hardener?

Integral color is mixed through the whole slab, so chips don't show a different color underneath. Color hardener is a dry powder floated into the surface for richer, more saturated color and a harder top layer. Many stamped jobs use integral color as the base and hardener or powder release as an accent.

What does release agent do?

It stops the textured mats from sticking to the wet concrete. Powder release also leaves a contrasting tint in the texture lines, giving an aged-stone look. Liquid release is sprayed on for details and cleaner looks. It's rinsed off after the slab hardens.

Can stamped concrete crack?

Yes, like any concrete. Good base prep, reinforcement and control joints placed in the pattern reduce the chances and control where cracks appear, but they can't eliminate them. Soil movement on clay is the big wildcard, which is why we pay so much attention to subgrade and drainage.

How often does stamped concrete need to be resealed?

It depends on the sealer, sun exposure and traffic. Film-forming acrylics typically need reapplication every few years, sooner on sunny, high-traffic surfaces. Penetrating sealers last longer between applications but offer less color enhancement. We give you a schedule based on the product we used.

Is stamped concrete slippery when wet?

It can be, especially with a glossy film sealer on a shaded or pool-adjacent patio. We add slip-resistance grit to the sealer, choose a satin or penetrating product for wet areas and can recommend a rougher texture mat. If slip risk is a priority, tell us up front.

Why is my stamped patio fading or turning white?

Fading usually comes from UV exposure, worn sealer and surface wear. White haze may be efflorescence, which is mineral salt carried to the surface by moisture, or a blushed sealer trapped by moisture. They need different fixes, so identify the cause before trying to strip or acid-wash anything.

Is stamped concrete better than pavers or flagstone?

It depends on your priorities. Stamped is a continuous surface with no joints to weed and works well for curves and large areas. Pavers handle ground movement better and can be repaired. Flagstone has the most natural look but costs more and takes more labor.

Can you stamp over my existing patio?

Sometimes. A sound, level slab can be resurfaced with a thin stampable overlay. But if the slab is cracked, moving or poorly drained, an overlay will usually telegraph those problems. We inspect the slab and tell you if replacement makes more sense.

Ready to talk about stamped concrete patio?

If you're torn between a stamped slab, pavers or natural stone, San Jose Hardscapes can walk your yard, check the soil and the drainage, and show you real samples of pattern and color. We'll tell you which material fits your lot and your budget, how the joints would be laid out and what upkeep to expect. Then you can decide with the whole picture in front of you.